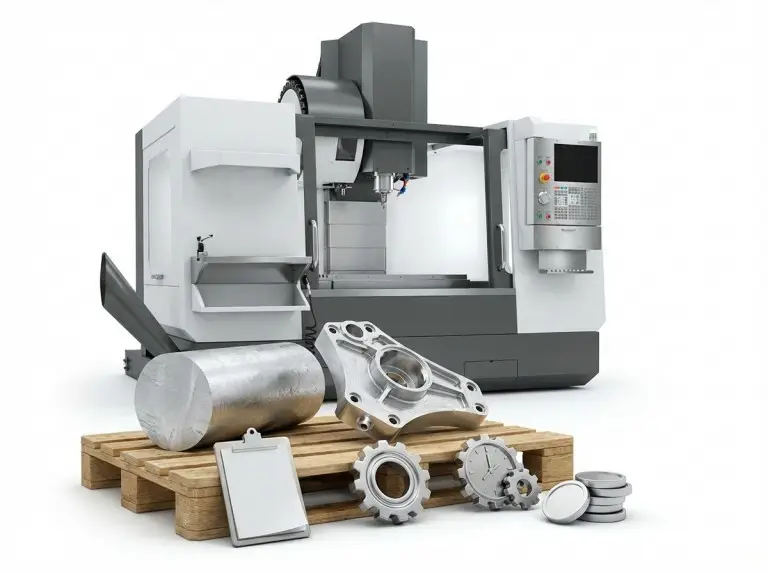
End milling is a main process in CNC machining and a core part of any professional CNC milling service. It cuts slots, pockets, steps, and 3D shapes into metal or plastic parts. When your part needs more than just flat faces, like slots or curved surfaces, end milling is often the best choice. Many keyways, pockets, or complex features are made this way.
This article covers three big questions:
- What is end milling and what features can it make?
- What types of end mills are common, and what are they used for?
- How do you pick the right end mill for your job?
What Is End Milling?
End milling uses a spinning tool called an end mill. This tool removes material both by plunging straight down and by cutting sideways. It makes slots, pockets, shoulders, and 3D forms. Face milling is different, since it mostly flattens large areas. End milling can move in different directions so it makes more shapes.
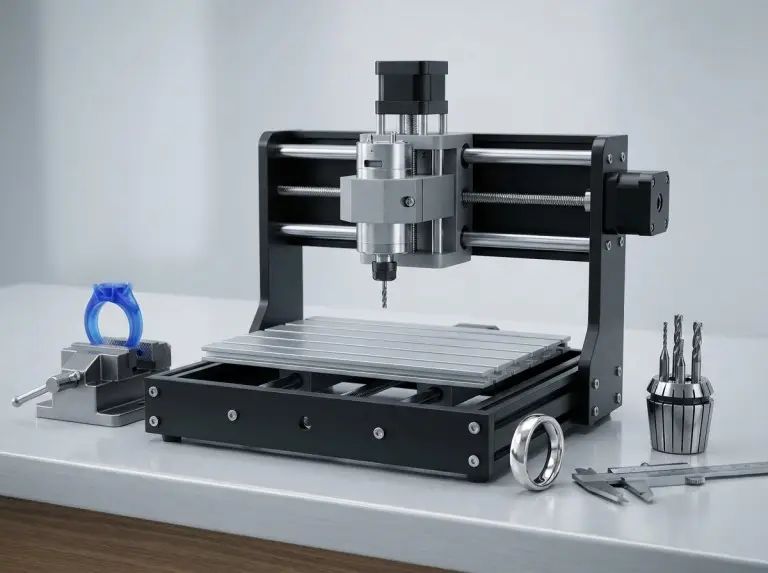
In a CNC machine, the end mill sits in the spindle. The part is clamped to the table. The CNC program moves the tool in X, Y, and Z directions. With the right tool, end milling can hold very tight tolerances. Features can be accurate to ±0.002 mm. This process also gives good surface finishes. It is used in fields like aerospace, automotive, medical, and electronics.
How the End Milling Process Works
End milling follows a set plan. This plan combines the path the tool takes with settings like spindle speed, feed rate, and depth of cut. The machine removes the material layer by layer. The program tells the end mill where to go, how fast to spin, and how deep to cut. The machine does the rest.
Here is a normal workflow:
- Design and CAM: Model the part in CAD. Then, use CAM software to create toolpaths (slotting, contouring, and more).
- Programming: The CAM makes G-code. G-code sets spindle speed, feed rate, and cutting depths.
- Setup: Put the end mill in the holder. Clamp the part in a vise. Set the work coordinates using a probe or by hand.
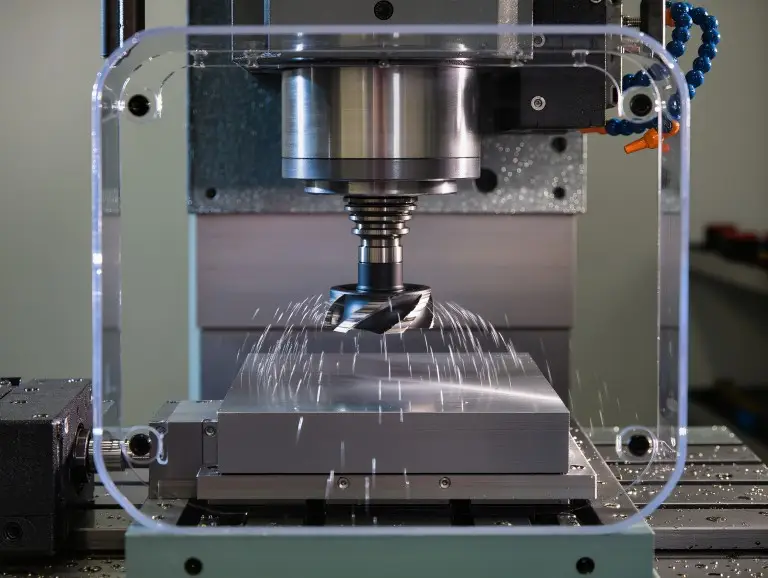
- Cutting: The spindle spins the end mill. The CNC moves the part or tool along the path. The cutting edges create chips that exit through the flutes.
- Inspection: Check key sizes and surface finish. If needed, run extra finishing passes.
Use coolant to keep heat down and lower friction. This makes tools last longer, especially in deep cuts or hard material. Removing chips from the cut area is just as important. If chips build up, they can break tools and damage your work.
Key Parts of an End Mill and Basic Terminology
An end mill is a spinning cutter made for both plunging and side cutting. Its parts are designed to clear chips and stay stiff. Knowing each part will help you choose the right tool.
Main parts:
- Shank: The long back end that fits into the holder. Its size affects tool stiffness.
- Flutes: Spiral grooves that cut and carry chips out.
- Cutting edges (lips): The sharp parts that cut the material. These are on the end and along the sides.
- Helix angle: The tilt of the flute compared to the tool’s length. This changes how smooth the cut is and how strong the tool is.
- Core: The solid center. A thicker core means a stiffer tool, but less room for chips.
You may also see these terms:
- Cutting speed: How fast the cutting edge moves across the part (measured in m/min or sfm).
- Feed rate: The speed the tool moves through the work (in mm/min or inches/min).
- Axial depth of cut (ap): How deep the tool cuts with each pass downwards.
- Radial width of cut (ae): The width of cut as the tool moves sideways.
Mixing these settings the right way will get you fast, steady milling and longer tool life.
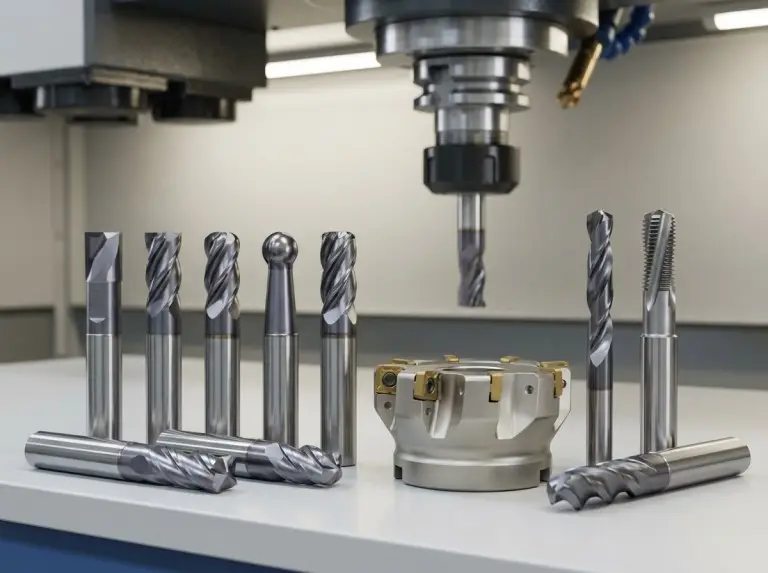
Main Types of End Mills and Their Typical Uses
End mills come in many styles. Each one works best for certain materials, tasks, or shapes. These are the most used types.
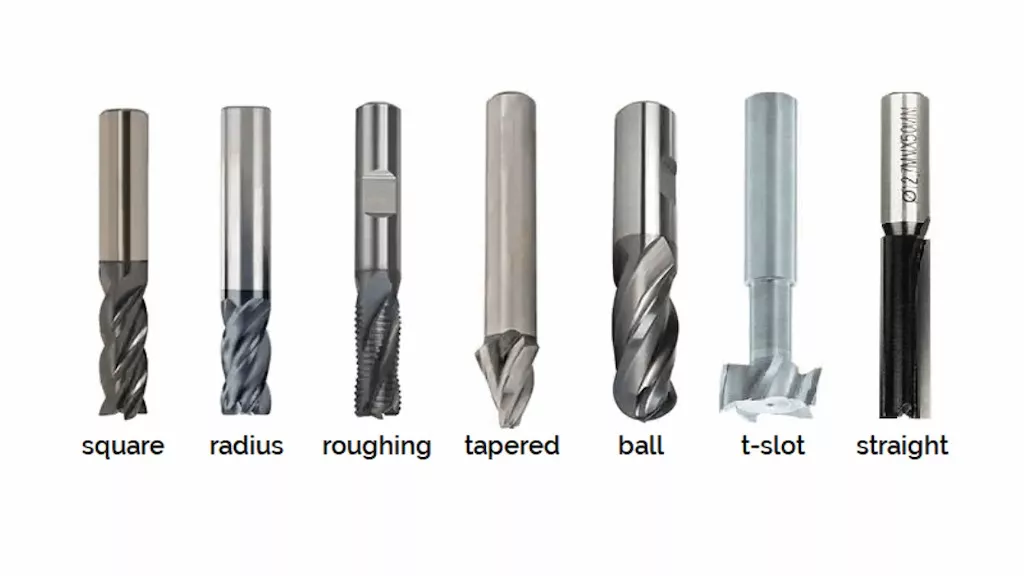
Square End Mills
Square end mills have a flat cutting end. They make flat-bottom cuts and sharp 90° corners. Use them for slots, side milling, pockets, and facing. These end mills work best for flat surfaces and straight edges in steel, aluminum, or plastic. They are not great for smoothing 3D shapes. Sharp corners may chip in hard material.
Ball End Mills
Ball end mills have a rounded tip. They produce smooth curves, not sharp corners. These are the top choice for 3D contouring and detailed finishing, such as for molds or blades. They are not efficient for flat-bottom shapes. The center of the ball turns slowly, so it can rub instead of cutting.
Corner Radius End Mills
Corner radius end mills look like square end mills but with rounded corners. The small radius makes the edge stronger. This helps prevent chipping and makes the tool last longer. Use these if you do not need perfect sharp corners, especially for strong structural parts or in semi-finishing.
Roughing End Mills
Roughing end mills have serrated edges. The cuts break chips into small pieces. These tools are made for removing lots of material fast, not for finishing. They are good for thick plates and large metal blocks. They leave a coarse finish, so use a regular end mill to finish the surface.
Specialty End Mills
Specialty end mills have custom shapes for special features. Some types are tapered, dovetail, or engraving end mills. Tapered mills make angled sides in cavities. Dovetail mills cut interlocking joints. These tools are a great choice for parts made by a rapid prototyping company, such as Yonglihao Machinery, especially when standard end mills will not work for certain areas. Use them only when a specific feature is required.
|
End mill type |
Feature style |
Main use |
|---|---|---|
|
Square end mill |
Flat end, sharp 90° corners |
Slots, steps, 2D profiles |
|
Ball end mill |
Rounded tip (hemisphere) |
3D contours, curved surfaces, fillets |
|
Corner radius end mill |
Flat end, small rounded corners |
Strong corners, structural CNC parts |
|
Roughing end mill |
Serrated edges |
Quick, deep stock removal |
|
Specialty end mills |
Tapered, dovetail, engraving |
Unique, non-standard local features |
How to Choose the Right End Mill for Your Job
Choosing the right end mill means matching material, machining stage and tool geometry so the tool cuts efficiently and survives the job. Follow these four steps to choose well.
1. Know your workpiece material
- For aluminum: pick 2–3 flute end mills with a high helix angle.
- For steel: use 3–4 flute carbide end mills.
- For stainless steel: use 4 or more flutes and tough, wear-proof coatings.
2. Decide the machining stage
- For roughing: go with bigger cut depths and a strong end mill.
- For finishing: use smaller cuts, more flutes, and focus on smooth surfaces.
3. Pick flute count for chip clearing and tool strength
- 2–3 flutes: best chip clearing for aluminum and plastic.
- 4+ flutes: more stiffness, good for steel, side milling.
4. Check tool size, reach, and coating
- Keep tool overhang short to avoid tool bend and chatter.
- For deep holes or cavities, try to use more than one tool size.
- Use coatings like TiN or TiAlN for tough or hot work. Avoid some for aluminum to prevent chip welding.
Mini checklist before you cut
- Tool diameter and flute length allow you to reach your feature without sticking out too far.
- Tool material and coating match your part.
- Roughing and finishing steps use the right tools.
- Flute count supports both chip clearing and strength.
- The set-up is stiff enough for the cuts you have planned.
Further reading: How to Select Cutting Tools for CNC Machining?
Advantages, Limitations and When to Use End Milling
End milling is best when you need detailed shapes, inside features, or 3D forms. The biggest benefit is flexibility. One CNC and a few end mills can create most features.
Advantages:
- Makes slots, pockets, steps, and 3D shapes.
- Works on many materials, soft or hard.
- Gives high precision and smooth finishes.
- Works great with modern CAM software to plan toolpaths.
Limitations:
- Not as fast as face milling for big flat areas.
- May chatter if you reach deep or have a long tool.
- Heat and chips can cause problems if not controlled.
Compared with other machining:
- Face milling is best for large, flat surfaces, but it cannot do slots or deep features.
- Drilling is fastest for making round holes, but can’t do side milling or make shapes. End milling is needed for features that aren’t just simple holes.
Choose face milling if you want to quickly flatten a big area. Use drilling for plain holes. Use end milling for almost all detailed part features.
Conclusion
End milling is the workhorse process behind most functional details on machined parts, from keyways and pockets to complex 3D cavities.To use it effectively, you mainly need to understand what an end mill is, how the common types differ, and how to align tool choice with material and machining stage.
A practical workflow is:
- Decide whether end milling, face milling or drilling is the most appropriate operation for the feature.
- Pick an end mill type and flute count based on the material and whether you are roughing or finishing.
- Adjust overhang, workholding and parameters to secure rigidity, chip flow and temperature control, and validate with short test cuts.
With repeated use, these decisions become process intuition and help you plan end milling operations that are stable, predictable and economical.
FAQ
What decides which end mill I should use?
Look at your part material, the feature you are making, and if you are roughing or finishing. Square end mills work for slots in steel. Ball end mills are best for curved shapes and molds. Flute count, reach, and coating matter too.
How does flute count change how the end mill works?
More flutes give better finishes and stronger tools. Fewer flutes are better at getting chips out. Use 2 or 3 flutes for aluminum or plastic. Use 4 or more for steel.
When use a corner radius end mill, not a square one?
Use a corner radius if you need stronger corners and don’t need sharp edges. The small round corner lowers stress and adds tool life, mostly in tougher steels. Drawings that want a true sharp corner need a square end mill.
How do carbide and HSS end mills compare?
Carbide end mills are harder and handle heat better than HSS. This means faster cutting speeds and longer tool life. Use them for steel or tough jobs. HSS tools are stronger in shock and cheaper, so good for soft material or slower cuts.
What are ball end mills best at, and when avoid them?
Ball end mills are good for 3D surfaces and smooth curves, like in molds. They don’t work well for flat bottoms or sharp pockets. The center turns slowly, so without good settings, they can rub and not cut.