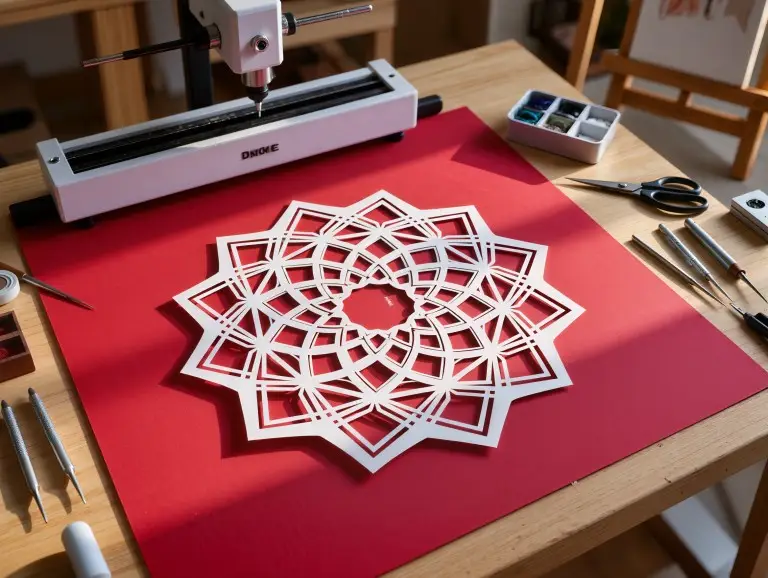

At Yonglihao Machinery, we build prototypes and small-batch parts. We mainly use laser cutting for this work. In the same project, teams often need a part ID, a logo, or a durable code. This code must survive handling and finishing. That is when the “laser engraving vs. laser etching” question comes up.
These two processes can look similar. But they act very differently in production. If you pick the wrong one, you might get poor contrast. A code might not scan. Or a mark could vanish after finishing. This guide explains the difference and the practical limits. It also shows how we choose between them.
What Laser Engraving and Laser Etching Actually Do?
Laser engraving removes material. It creates a deep mark you can feel. Laser etching heats the surface. It makes a shallow, high-contrast mark with little material removal. Engraving uses high energy to vaporize a thin layer of the material. Etching uses less heat, closer to the melting point. This creates fine textures, a slight raise, and a visible color change.
You can think of engraving as a type of “micro-machining” that creates depth. You can think of etching as a “surface change” that focuses on speed and contrast. Both can make permanent part IDs, but they are good for different things.
Laser Engraving vs. Laser Etching
Laser engraving is best for durability and depth. Laser etching is best for speed and efficiency. The table below shows the main differences we see in our work. Your results will depend on the material, laser type, and settings.
|
Factor |
Laser Engraving |
Laser Etching |
|---|---|---|
|
What happens to the material |
Material is removed (ablation/vaporization) |
Surface is heated and changed (melting/oxidation/texture) |
|
Typical mark geometry |
A recessed cavity you can feel |
A very shallow mark, mostly seen by its contrast |
|
Typical depth (rule-of-thumb) |
Up to ~500 µm is common for part IDs. Deeper is possible with more time or power. |
Often near the surface, from one to a few microns, based on material and settings. |
|
Durability |
Strong wear resistance because the mark is below the surface. |
Good for many IDs, but can fade faster with rubbing or harsh finishing. |
|
Speed and energy |
Slower and uses more energy per mark. |
Faster and uses less energy per mark. |
|
Best fit |
Harsh handling, abrasion, blasting, long-life traceability. |
Fast production, high contrast, little material change. |
|
Post-processing survival |
Often better before abrasive steps like blasting. |
Often better before non-abrasive coatings when you want contrast without deep removal. |
Depth is the most clear difference. But it is not the only factor. For real parts, code readability and survival after finishing often matter more.
Depth and Wear Resistance
Engraving creates depth. Depth gives you a mechanical edge against wear. When a mark is below the surface, rubbing hits the high points first, not the code. That is why engraved marks stay readable longer on parts that see friction or cleaning.
Etching can still be permanent. But it usually sits at the surface level. If the part will see frequent contact or sliding, an etched mark can fade over time. For many prototypes, this trade-off is fine. But you should make this choice on purpose.
Contrast and Small-Code Readability
Etching often creates stronger contrast in less time. This is especially true on metals, where heat and texture changes make a dark mark. This makes etching good for QR codes, data-matrix codes, and small text. Good contrast helps scanners read them. Etching also helps when you need to mark parts quickly.
Engraving can also be very readable. But it may need more fine-tuning to prevent shadows and keep edges sharp. On very small codes, too much depth can create uneven reflections. This can confuse scanners if the finish is not right. For tiny marks, we often tune for clean shapes first and depth second.
Speed, Cost, and Production Rhythm
Etching usually runs faster. It needs less energy to make a visible mark. Faster marking means you can make more parts. This matters when marking becomes a bottleneck. Etching also tends to have lower running costs. The laser spends less time per part at high power.
Engraving needs more time or more passes to create depth. That can be the right choice, but it should match the value of durability. In prototype work, we often use engraving as an insurance policy against future wear or blasting.
Heat Impact and Surface Integrity
Both processes use heat. Both can create a heat-affected zone if you use too much power or go too slow. Engraving uses more energy and removes material. This can increase the risk of discoloration or small burrs. It can also warp thin parts.
Etching usually needs less energy. It can be gentler on thin walls and cosmetic surfaces. But etching is not “no impact.” Too much heat can still create soot, smearing, or warped plastic. The difference is that etching gives you more room to work in a low-damage range.
Survival Through Finishing Steps
Finishing is where a good-looking mark can fail. If the part will be shot-blasted or sand-blasted, a shallow etch can vanish. If the part will be powder coated or e-coated, an etch can stay readable.
Engraving often works well when a mark must be seen after abrasive finishing. Etching can work well before non-abrasive coatings when you want to avoid deep marks. The right choice depends on which finishing step might “attack” your mark.
How Each Process Works in Practice?
Both processes use a focused beam and controlled motion. But engraving removes material, while etching changes the surface. This difference changes which settings matter most and what problems might appear.
How Laser Engraving Works?
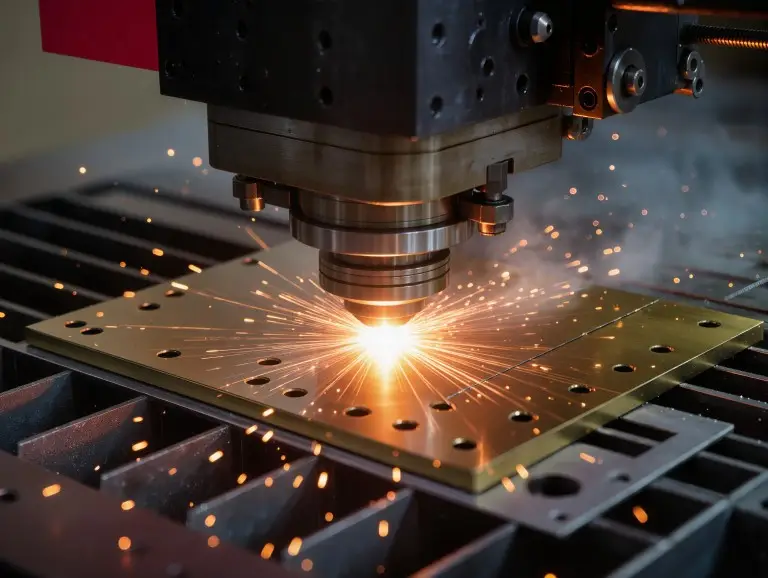
Engraving uses focused energy to heat material so fast that it turns to vapor. The laser follows a set path. The process removes material layer by layer. The result is a cavity that forms the code or art.
Modern systems can make very fine features. The beam width can be as small as 0.0254 mm (0.001 in). This allows for very small text and dense codes. Depth can reach hundreds of microns. We often see up to ~500 µm when an application needs it.
How Laser Etching Works?
Etching uses enough heat to melt or soften the top layer of the material. This changes its texture and color. The surface can expand a little. It can also form an oxidized layer that creates visible contrast. The mark can look black, white, or gray, depending on the material and settings.
How the surface absorbs and reflects light matters a lot in etching. A shiny metal can bounce energy away. A darker or rougher surface can absorb more energy and darken faster. That is why the same power and speed can create different results on different materials.

The Variables That Matter
Power and speed set the energy used. But focus sets the energy density. Frequency, pulse width, and pass count shape how the material heats and cools. If you treat these settings as a system, you get repeatable results across batches.
For engraving, we often tune for sharp edges first and depth second. For etching, we tune for contrast and minimal heat damage at the same time. In both cases, stable fixtures and a clean surface are as important as the laser settings.
Material Compatibility and Practical Limits
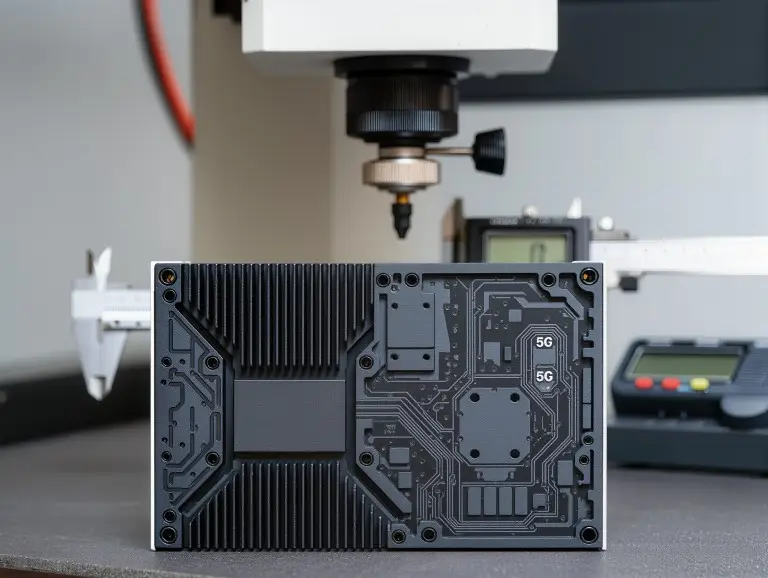
The material and surface condition often decide the process more than the design does. Two parts can have the same alloy but act differently if one is polished or coated. When we review a marking job, we look at the material, surface, and finishing all together.
Metals: Stainless, Aluminum, Brass, Titanium, and Coated Surfaces
Engraving works well on many metals. It removes material and leaves a clear mark. Stainless steel and aluminum are common. But you need to think about how they conduct heat. High-conductivity metals can spread heat fast. This may require different settings to get a consistent depth.
Etching often performs well on aluminum and many steels when you need fast contrast. Stainless can also be etched. But the contrast can vary by alloy and finish. Some stainless marking relies more on controlled oxidation. Coated metals can also respond well to etching. But you must check if you are etching the coating or the base metal.
Non-Metals: Wood, Acrylic, and Plastics
Engraving on wood and acrylic can produce very crisp results. But the settings change because these materials char or melt differently than metals. Acrylic often gets a frosted look when engraved. This can be good for signs or labels. Wood can look clean on dense hardwoods. Softwoods can burn more easily and need careful tuning.
Etching on plastics depends on the resin type and any fillers. Some plastics show clean contrast. Others smear or deform even with low energy. For new plastics in prototypes, we prefer to run a quick test first. This is especially true for thin or cosmetic parts.
Surface Condition Changes Everything
Reflectivity, roughness, and coatings control how energy enters the surface. A polished metal might need different settings than a brushed one. Anodized layers can shift how a mark looks.
Contamination also matters, especially oils and fingerprints. They can burn or create uneven marks. This can cause scanners to fail. When code readability is important, surface prep is a key process step.
How We Choose Engraving vs. Etching?
We choose based on the mark’s function first, not the process name. If the mark must survive abrasion, we lean toward engraving. If the mark must be fast and high-contrast, we lean toward etching.
Prototype work adds another constraint: you often lack time for redesigns. This pushes us toward a safer choice when failure risk is high. When we are unsure about finishing or handling, we often pick the option that stays readable in the worst case.
Here are the six questions we ask before we choose a process:
- Will the part face rubbing, wear, or cleaning?
- Will the part be blasted or tumbled after marking?
- Does the code need to scan reliably at a small size?
- Is the surface cosmetic, thin, or heat-sensitive?
- Is cycle time a key limit?
- What is the real surface condition: polished, coated, or rough?
If you answer “yes” to heavy wear or abrasive finishing, engraving is often safer. If you answer “yes” to fast cycle time and high-contrast scanning, etching is often smarter. If you answer “yes” to heat sensitivity, we usually start with etching.
Common Problems and How to Avoid Them
Most marking problems come from chasing contrast with more power. You should control focus, speed, and surface prep instead. A mark fails because the process did not match the material and its final use.
Here are the failure patterns we see most often, and how to fix them:
- If you see halos or a rough edge, check focus first, then reduce time.
- If contrast is good but codes won’t scan, check edge sharpness and glare, not just darkness.
- If marks vanish after blasting, switch to engraving or increase depth.
- If thin parts warp or plastics smear, use less energy and more speed. Try multiple light passes.
- If marks vary in a batch, check surface cleanliness and part position.
Overheating can happen in both processes. In engraving, it can widen lines and leave melted material at the edge. In etching, it can create uneven dark patches that look burned.
Post-processing is the second common trap. A perfect mark can become unreadable after coating if contrast drops. A mark can vanish after blasting if it is not deep enough.
Conclusion
If the mark must survive abrasion, blasting, or years of handling, we use laser engraving. We tune the depth and edge quality to protect readability. If the job needs fast speed, high contrast, and little impact on the part, we use laser etching. We tune for clean contrast without overheating. When in doubt, we decide based on the harshest step the part will face. That step will reveal the weakness of the wrong choice.At Yonglihao Machinery, laser design services are a core capability, and we can work with you early in the project to choose and validate the right engraving or etching approach for your parts.
FAQ
Is laser engraving always more durable than laser etching?
Engraving usually offers better abrasion resistance because it creates a deep cavity. Etching can be permanent, but the mark is at the surface. It can lose contrast faster with rubbing. If durability is key, engraving is a safer choice.
Which one is better for QR codes or data-matrix codes?
Etching often gives strong contrast quickly, which helps scanners. Engraving also works well, but you must control edge quality and glare. The best answer depends on code size, surface finish, and scanner lighting.
Will laser etching weaken my part less than engraving?
Etching changes less material than engraving. It often preserves the surface better. Engraving removes material. This can matter on thin walls or key areas if the mark is placed badly. In prototypes, we often move marks away from critical spots.
Can both processes work on stainless steel and aluminum?
Yes, both can work on both materials. But the results and settings differ. Aluminum’s reflectivity can affect contrast, especially for etching. Stainless works with both, but contrast can vary with the alloy and finish.
How deep should an engraved mark be for industrial use?
Depth depends on expected wear and finishing. For many part IDs, a few hundred microns gives strong durability. We often see up to 500 µm when needed. If the part will be blasted, depth is more important than visual darkness.
Why does the same setting look different on “the same” material?
Surface condition changes energy absorption. A polished finish reflects more energy than a brushed one. Oils can burn and change the contrast. If you need consistent results, treat surface prep as part of the marking process.
Should I mark before or after coating?
It depends on the coating. For non-abrasive coatings, etching before the coat can work well. For abrasive steps, engraving or post-coat marking may be a better plan.