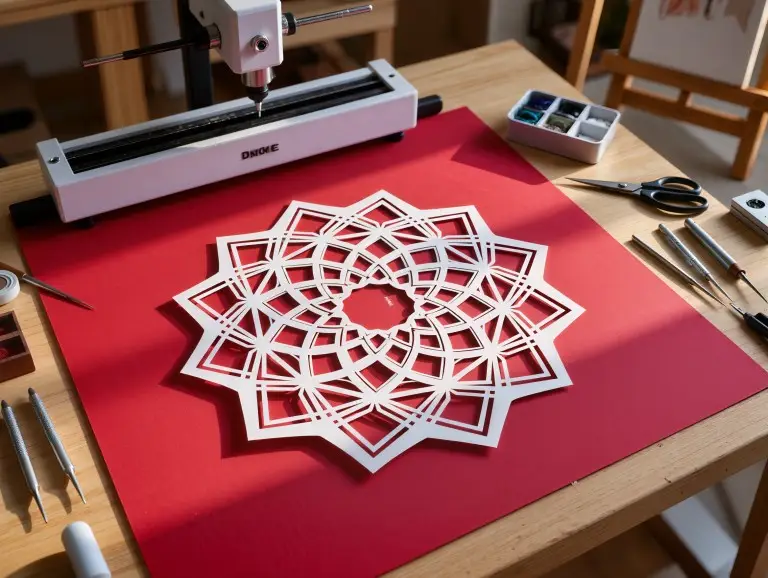

Laser cutting and laser engraving are precise methods used in making prototypes and small production runs. Laser cutting separates material completely, like cutting out a part’s shape. Laser engraving only changes the surface, like adding a permanent mark.
The choice depends on your goal. Need to separate parts? Use cutting. Need to add a mark to a surface? Use engraving. You can also use both together to avoid errors in alignment. This guide will help you choose the right process based on your desired effect, material, and file type.
What Laser Cutting and Laser Engraving Actually Do?
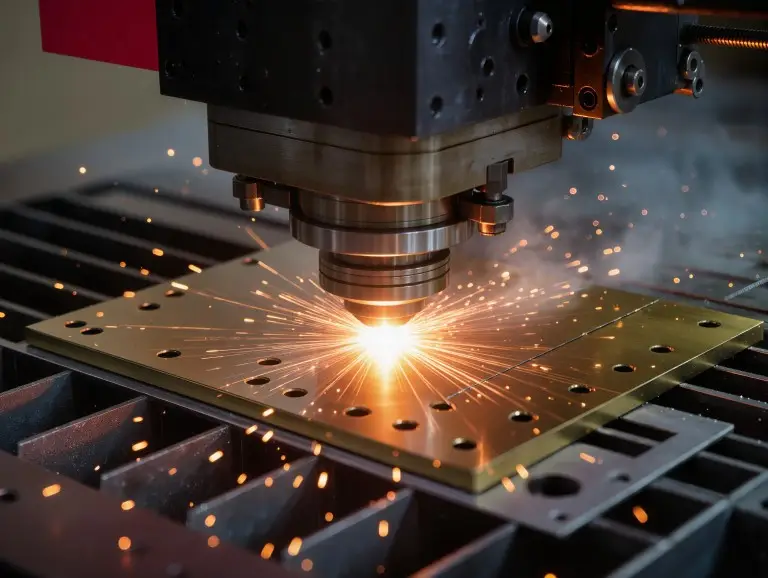
Laser cutting goes through the full thickness of a material. It separates parts from a larger sheet. This allows for exact shapes and clean edges. Think of it like using a knife to cut paper, but with much higher precision. The laser avoids the mechanical stress that a blade would cause.
In contrast, laser engraving only removes or changes the surface layer. It creates lasting marks without breaking the part’s structure. This is like carving letters onto a surface instead of cutting all the way through.
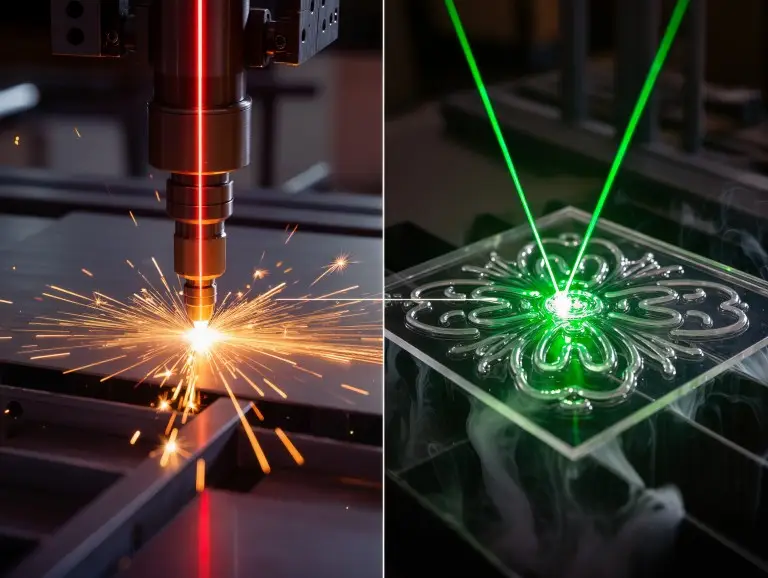
Simply put, cutting changes a part’s shape. Engraving changes a part’s surface.
For prototypes, cutting focuses on the part’s geometry, edge quality, and size. Engraving focuses on contrast, how easy it is to read, and controlling the depth. If you need two separate parts, choose cutting. If you need to add marks on a single part, choose engraving. Safety rules for these processes include protection from radiation and proper ventilation to prevent accidents.
Many prototype projects use both methods at the same time. In a single setup, you can cut the outline first. Then you can engrave part numbers, bend lines, or marks for assembly. This is efficient and reduces alignment errors from using multiple machines. This combined approach works well for about 80% of electronic housing prototypes. It helps customers quickly check how parts fit together without extra steps.
Key Differences That Affect the Results
The fastest way to decide is to compare the physical changes each process makes. The key difference is “depth and motion style.” The table below shows the main differences.
|
Decision Point |
Laser Cutting |
Laser Engraving |
|---|---|---|
|
Output |
Separate parts, holes, outlines |
Permanent marks, textures, recessed details |
|
Depth |
Full penetration |
Surface removal / controlled depth (usually 0.01-0.5mm) |
|
Motion Style |
Mostly vector paths (lines/curves) |
Often raster fill (back-and-forth) + vector lines |
|
Power vs Speed |
Higher power, slower movement |
Lower power, faster movement |
|
Optics Priority |
Edge quality within thickness |
Fine spot size to achieve details |
|
Assist Gas |
Common (for clean edges) |
Usually not required (sometimes for smoke control) |
|
Common Risks |
Dross, heat discoloration, edge taper |
Low contrast, overburn, loss of fine details |
The quality of a cut is also affected by the kerf (the width of the cut) and the heat-affected zone (HAZ). These are very important for tight slots or inserts. Power and speed settings depend on the machine and material. Cutting needs enough energy to get through the material. Engraving needs controlled energy to avoid burning too deep.
Materials Compatibility
Choosing a material is not just about whether a laser can affect it. It is about getting a clean, safe, and repeatable result. The condition of the material’s surface is also important. Oil, coatings, or protective films can change the color of the edge and the contrast of the engraving.
Excellent Material Choices
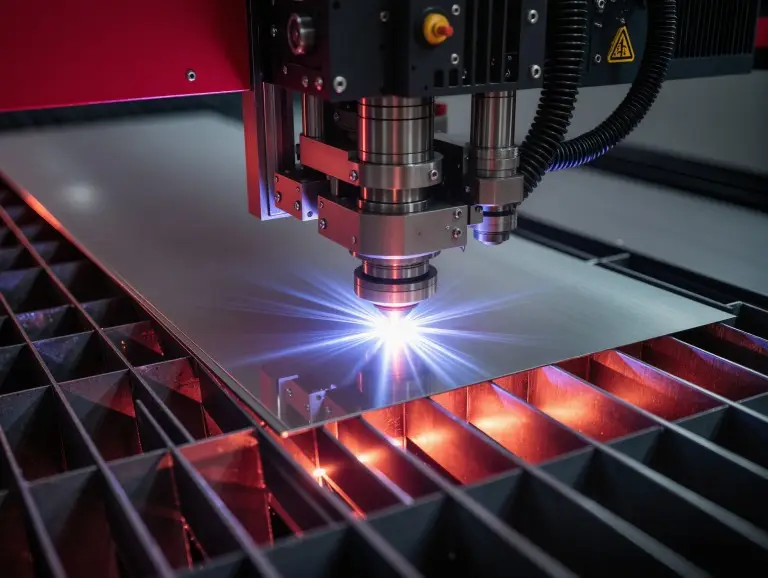
The following information is based on fiber laser tests for common prototype uses. Fiber lasers are best for cutting metal. The contrast of an engraving can change based on the alloy and surface.
|
Material Family |
Laser Cutting |
Laser Engraving |
|---|---|---|
|
Metals |
Fiber lasers suit most sheets (steel up to 20mm thick) |
Good for ID marks; contrast varies by alloy/surface |
|
Wood / MDF |
Creates clean shapes; watch for charring |
Makes high-contrast marks; texture affects the look |
|
Acrylic |
Results in smooth edges with the right setup |
Creates a common frosted effect for marks |
|
Coated Surfaces |
Depends on the base material |
Often used for logos/IDs; gives great contrast |
Metals that are very reflective, like polished aluminum, can be a challenge. You need to control reflections and heat discoloration, especially on smooth surfaces. For engraving bare metal, a “dark mark” result depends on the alloy. If you need guaranteed contrast, it is better to use coated or anodized surfaces.
Materials to Avoid
- PVC / Vinyl: These plastics release toxic chlorine gas. This gas harms your health and can damage the equipment.
- Fiberglass / FR composites: These create harmful dust and do not cut well.
- Some plastics: These may melt or catch fire. The results vary by grade and what has been added to them.
If you are not sure about a material, test it first. Do not guess. A quick sample cut or mark will show the edge quality, contrast, and smoke behavior. We recommend following proper ventilation standards to ensure safety.
Files & Workflow
Laser cutting typically uses vector files. These files tell the machine to follow continuous paths. Laser engraving often uses raster images to fill in areas and create photos. It also uses vectors for outlines and text. Vectors show “where to go.” Rasters show “how much to fill.”
Common vector formats for cutting include DXF, SVG, AI, and EPS. For engraving images, raster files like PNG and JPG work well. Vectors are still best for sharp text and logos. If you send both types of files together, we can cut the outline and engrave the fill in one setup. For prototypes, this reduces errors from converting files.
File Prep Rules to Prevent Most Problems
- Cut lines should be single paths, not double outlines. Layers should be clearly named (e.g., CUT vs. ENGRAVE). This helps the machine plan the best path and saves time.
- Raster art for engraving needs high resolution. For small details, aim for 300–600 DPI. Otherwise, the marks will be blurry. Convert text to outlines so fonts do not go missing and edges stay sharp.
- Avoid heavy compression for engraving images. PNG is usually a safer choice than a low-quality JPG. It keeps more detail.
How to Choose Cutting or Engraving
Choose laser cutting when you need to create separate geometric parts. Choose engraving when information needs to stay on the surface of an existing part. Good decisions focus on the result first, not the machine.Here is a quick checklist we’ve compiled:
- Do you need separation?
Yes → cutting. This is for parts like brackets or housings that must be independent.
No → engraving. This only modifies the surface. - Is thickness a factor?
Thicker materials usually require a cutting setup. Engraving is limited to the surface (less than 1mm). For example, cutting a 5mm steel plate needs high power. Engraving it only needs low energy. - Is readability the goal?
For serial numbers, QR codes, and logos → engraving. Contrast matters most. We once engraved QR codes on medical gear that stayed clear after 1,000 wipes. - Is edge quality the goal?
For outlines, slots, and holes → cutting. The kerf and heat effects are key factors here. - What files do you have?
Pure vector files are ideal for cutting. Art with many raster images points to engraving as the main step.
If your design needs both an outline and a mark, combining cutting and engraving is the best path for prototypes. It reduces alignment errors.
Typical Applications
Laser cutting is important when a part’s function depends on its shape and size. Examples include brackets, housings, snaps, slots, gaskets, and panels. For prototypes, it is also the fastest way to make changes. You can simply change the CAD model, cut a new part, and check its dimensions on the same day.
Laser engraving is ideal when information must stay clear after handling, cleaning, and long-term use. This includes serial numbers, QR codes, alignment marks, logos, and warning text. Engraving also works for marks that help in manufacturing, like bend lines or arrows showing fold direction.
Conclusion
When you need to cut out parts with precise edges and dimensions, using a laser cutting service is the right choice. When you need lasting details on a surface without harming the part, laser engraving is the correct option. If your part needs to both “fit” and “identify,” then combining cutting and engraving through a professional laser cutting service is usually the cleanest solution for making a prototype.
We support rapid prototyping projects by first understanding the result you need. Then, we match the right laser process based on your material, thickness, and file type. If you provide the material, thickness, quantity, and CAD files, we can tell you which approach is most stable and reliable.
FAQ
What is the main difference between laser cutting and laser engraving?
Laser cutting cuts through the entire thickness of a material to create separate components. Laser engraving only removes or changes the material’s surface to create permanent marks without cutting through.
Can a laser engraver be used as a laser cutter?
Sometimes, but with limits. You might be able to cut thin, non-metal materials on a system made for engraving. However, cutting stability depends on the machine’s power, optics, motion system, and exhaust.
Why does my laser-cut edge have slag, bad burn marks, or a taper?
This is usually a problem with the balance of focus, speed, and assist gas. The material’s thickness, surface film, and nozzle condition also affect the edge. A small change in settings can turn a “dirty edge” into a “clean edge.”
Why does my engraving look blurry, uneven, or distorted?
Blurry marks are often caused by issues with contrast or focus. The surface finish, any coating, raster resolution, and speed are usually more important than raw power. For tiny text, vector images are typically better than raster images.
For the best results, what files should I send?
For cutting, please send DXF, SVG, AI, or EPS files with clear layers. For engraving, send high-resolution PNG or JPG files. Use vector graphics to make sure text and logos are sharp. Please note the “CUT” or “ENGRAVE” purpose in your layer names to prevent mix-ups.